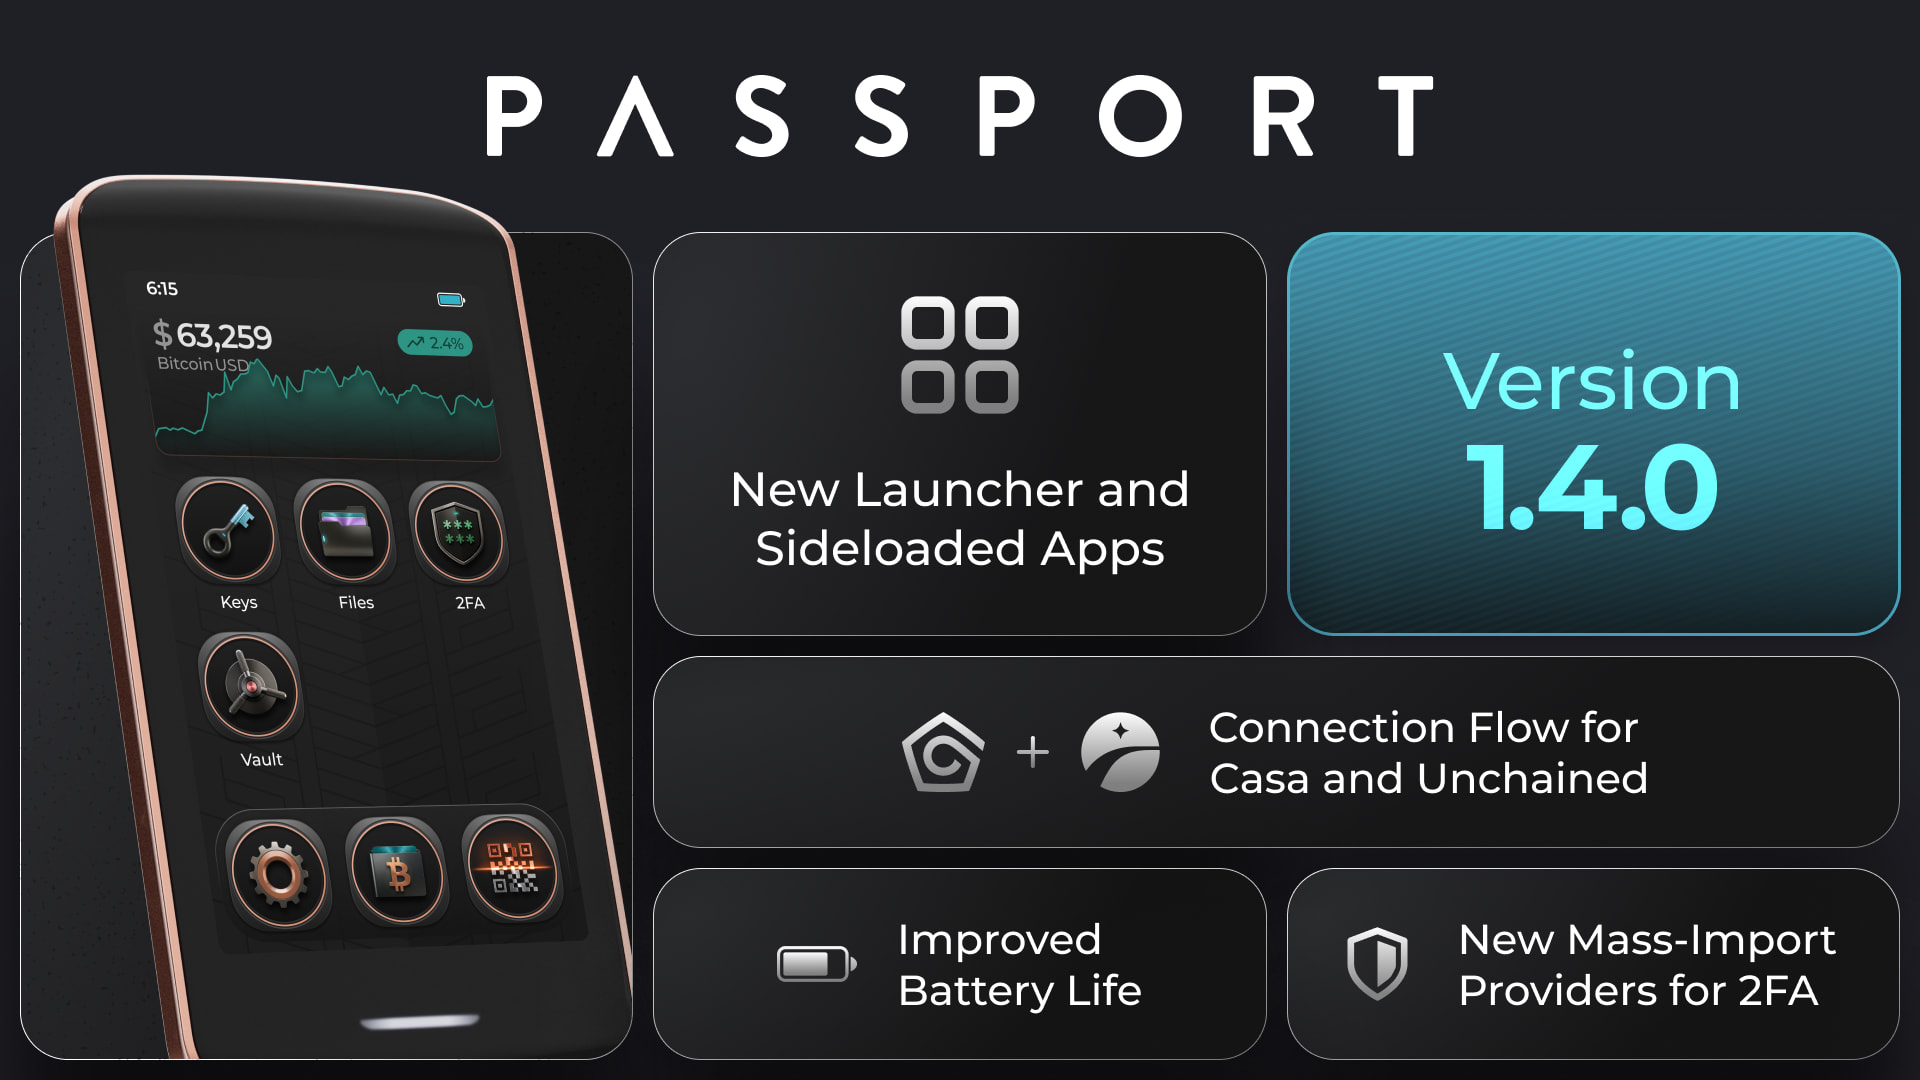
KeyOS v1.4.0-beta3 is now available for testing
KeyOS v1.4.0-beta3 is now available for Passport Prime users who would like to help us test the next major KeyOS release.
This latest build adds another round of fixes and security hardening across multisig validation, third-party apps, storage, NFC, onboarding, and other areas of KeyOS.
Manual KeyOS updates without Envoy
One of the biggest additions in the wider KeyOS v1.4.0 build is the ability to update Passport Prime manually without using Envoy.
KeyOS update files can now be downloaded separately and installed manually on Passport Prime. Envoy is no longer required to keep KeyOS updated.
Please note: KeyOS v1.4.0-beta3 itself must still be installed through Recovery. You will also need to follow the Recovery process again when moving from this beta to the official KeyOS v1.4.0 release.
Other KeyOS v1.4.0 highlights
- Third-party app sideloading with Allowed Publishers and user-controlled permissions
- A completely redesigned launcher with new app icons and customizable icon placement
- Multisig exports for Unchained and Casa
- Bitcoin Safe and Coconut Wallet connections
- Imports from Aegis and Proton Authenticator
- PIN confirmation before displaying seed words
- Further security hardening and fixes across Bitcoin signing, multisig validation, apps, storage, NFC, and the kernel
Download KeyOS v1.4.0-beta3 and read the complete release notes on GitHub.
Before installing
This is pre-release software intended for experienced testers who are comfortable flashing firmware through Recovery.
Please make sure your backup is current and read the complete instructions carefully before beginning.
 HOW TO UPDATE, read carefully, this beta installs through recovery mode
You will need: the beta file and an external drive, a microSD card or USB flash drive. If your drive is microSD or USB-A, you will also need a USB-C adapter.
- Download
KeyOS-v1.4.0-beta3-Recovery.binto an external drive (microSD card or flash drive) — This can be found on the release notes linked above. - Turn on your Passport Prime
- While the Foundation logo is being displayed during boot, tap the power button repeatedly — this should bring you to the Boot Menu
- Select “Recovery” — this will bring you to the Firmware Recovery menu
- Tap Firmware Recovery
- Connect the external drive to the USB-C port on Passport Prime (you will need a USB-C adapter if you saved to a microSD card or USB-A drive in step 1)
- Select
KeyOS-v1.4.0-beta1-Recovery.binsaved during step 1
Note: in order to upgrade to the official KeyOS v1.4.0 release, you will have to follow the same steps again with the v1.4.0 recovery file.
Please share any problems or feedback in this thread so our team can investigate them before the stable release.
Thank you for testing!